If you’re just getting started with soap making, you probably have a lot of questions running through your mind. Which soap base should you choose? How much fragrance should you add? What kind of colorant should you use? What happens if you make a mistake?
The good news is that Melt & Pour is such a great introduction to the world of soap making precisely because you don’t need to know everything before you begin. You don’t have to work with lye, you don’t have to wait weeks for your first soaps to be ready, and you can create beautiful, usable bars with just a few ingredients.
And perhaps most importantly: your first soap doesn’t have to be perfect at all.
We’ve put together 7 things we wish we had known before making our first Melt & Pour soap.
1. The soap base you start with matters
The soap base is essentially the starting point of your project, so as a beginner, it’s worth choosing a high-quality base.
A clear glycerin base, for example, is a great choice if you want to experiment with brighter colors, layers, or transparent effects. White, milk-based, or other creamy bases create softer, more pastel colors and an entirely different visual effect. Later, you can start experimenting with other options.
As a beginner, however, don’t start with the most complicated recipe. First, get to know the material: how it melts, how quickly it begins to solidify again, and how it reacts to color and fragrance.
That knowledge will be far more valuable later than having ten different ingredients sitting on your shelf.
2. When it comes to fragrance, more isn’t necessarily better
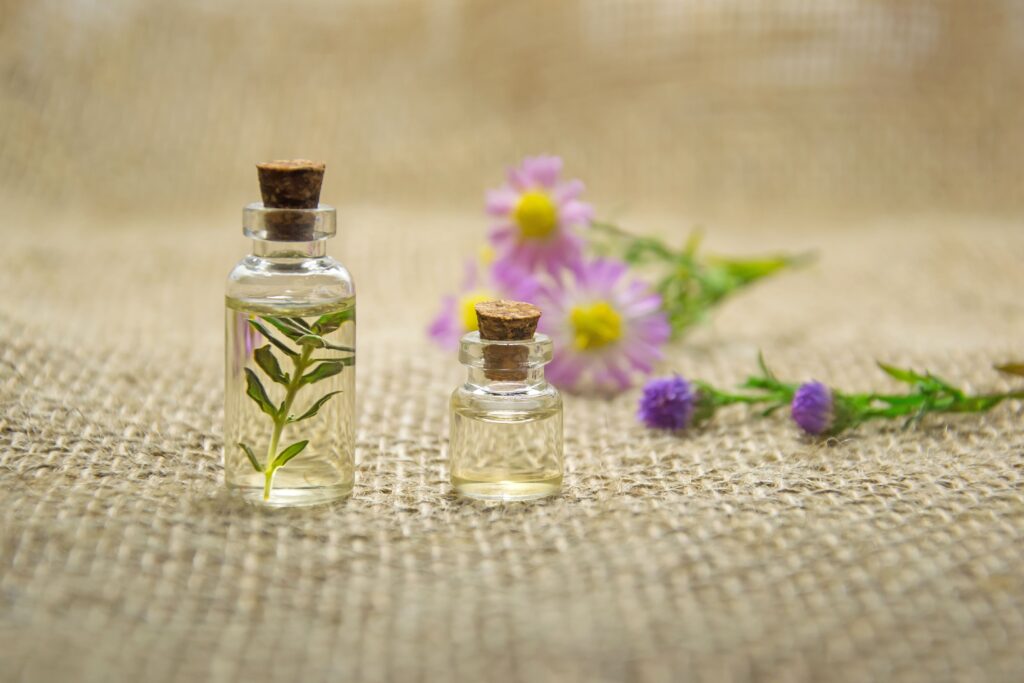
It’s very tempting to add just a little extra fragrance oil to the mixture to make sure your soap is “fragrant enough.” But when it comes to fragrance, it’s especially important to follow the usage amount recommended by the manufacturer.
Not every fragrance oil or essential oil can be used at the same concentration, so always check whether the particular product is suitable for use in skin products and soap making, as well as the maximum recommended usage amount.
And one more thing: don’t judge a fragrance only by how it smells straight from the bottle. The character of a fragrance oil can be completely different in the finished soap.
3. Start with less color
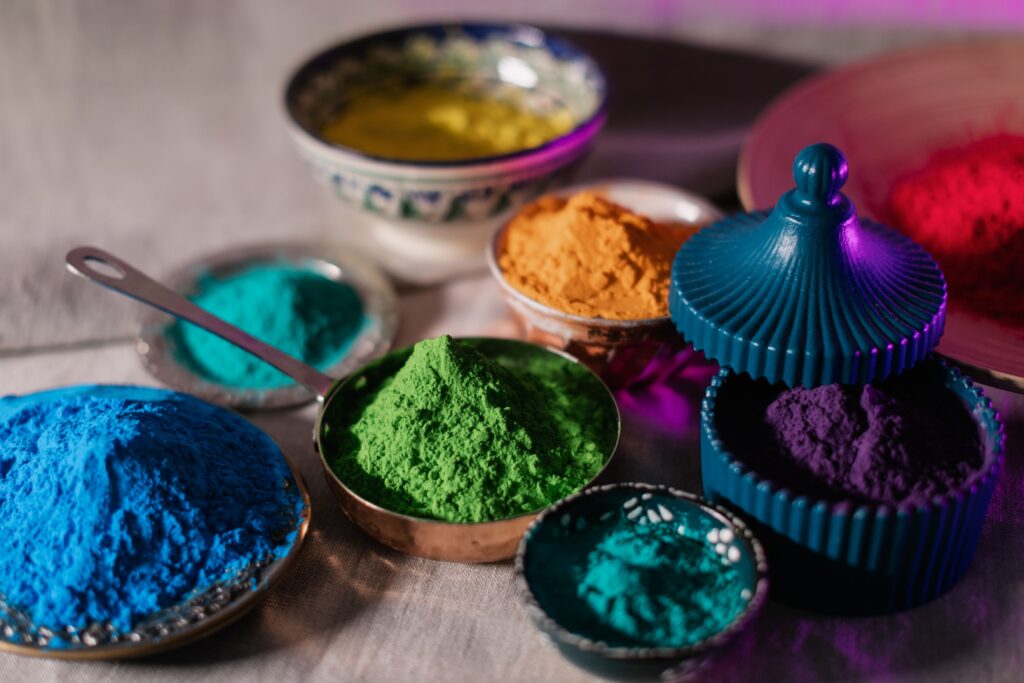
Coloring is one of the most fun parts of Melt & Pour soap making—and also one of the easiest areas to overdo as a beginner.
You can create completely different effects using mica, soap colorants, or certain natural colorants. However, always check that the colorant you choose is suitable for cosmetic and soap-making use.
And start with a small amount. You can always add more color, but you can’t take it back out.
Also, don’t be surprised if the same colorant looks different in a clear base than it does in a white base. That’s not a mistake—the color of the base itself is simply part of the final result.
4. A simple mold doesn’t mean a boring soap
The internet is full of incredible flowers, crystals, cakes, and intricately detailed soaps. They’re incredibly inspiring—but they’re not necessarily the best place to start.
For your first few attempts, choose a simple silicone mold that makes it easy to remove the finished soap.
Even a simple rectangular or round bar can be beautiful. Color, fragrance, layers, a little mica, or even a minimalist design can often be much more striking than an overly complicated mold.
First, learn how to control the material. The artistry can come later.
5. You don’t need to buy an entire soap-making studio
This is one of the most common beginner mistakes.
You see twenty beautiful mica colors, ten fragrances, five molds, and a whole collection of tools you don’t even know exactly how to use yet—and suddenly you feel like you need all of them…
For your first project, these are more than enough:
- a high-quality Melt & Pour soap base,
- 1–2 fragrances suitable for soap making,
- 1–2 colorants or micas,
- a simple silicone mold,
- a heat-resistant container,
- a mixing tool,
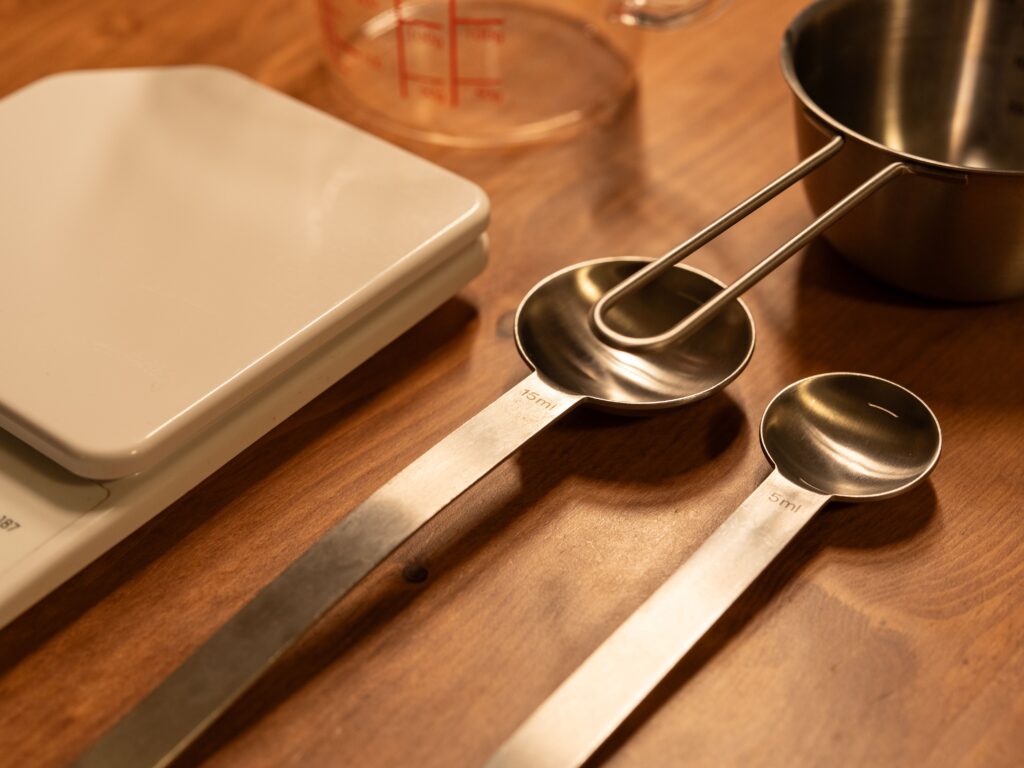
- an accurate scale,
- a knife and cutting board for cutting the base into cubes.
If you fall in love with the process, you’ll naturally discover what style of soaps you enjoy making. That’s when it makes sense to start intentionally building your own collection of ingredients and tools.
6. Don’t rush it—and don’t overheat it
Melt & Pour is a quick technique, but that doesn’t mean you need to rush.
Cut the soap base into smaller, preferably similarly sized pieces so that it melts more evenly. Heat it in short intervals, gently stirring in between.
The goal isn’t to get the base as hot as possible, but to get it just completely melted.
Overheating can affect the final result, while stirring too vigorously can introduce unnecessary bubbles into the mixture.
Once you’ve poured it into the mold, one of the hardest parts begins: leave it alone.
Wait until it has completely cooled and hardened before removing it from the mold. If you try too soon, you can easily dent or damage the still-soft soap.
And if your first bar has a few bubbles, one of the layers is slightly uneven, or the color isn’t exactly what you imagined?
That’s okay—you’re still learning.
7. Don’t make a Pinterest-perfect soap your first goal
This may be the most important thing to know. Your first soap probably won’t look like that perfect bar you saw in a video—and it doesn’t need to.
There’s something special about the creative process that’s easy to lose when you focus on achieving a perfect result right away.
Choosing the fragrances, mixing the colors, watching the base melt, and that moment when you finally take the soap you made out of the mold.
Melt & Pour can be a simple hobby, a creative experiment, a way to make gifts, or even a little time you set aside just for yourself.
One more thing we wish we had known: write down what you did
When a soap turns out well, you’ll almost certainly want to make it again. And when it doesn’t turn out the way you planned, it’s helpful to know what you should change next time.
That’s why it’s worth writing down from the very beginning:
- which base you used,
- how much soap you worked with,
- which fragrance you used,
- how much you added,
- which colorant you used, and
- what you would change next time.
Over time, these little notes will become your own recipes, your own techniques, and eventually your own soap-making style.
One of the best things about Melt & Pour is that it gives you room to experiment. You can start simple and try something new with every soap you make.
Ready to make your first soap?
Explore Soaperstar soap bases and inspiration, and start creating.
Estimated reading time: 6 minutes